How to Screen Record on Windows 11: 6 Easy Methods
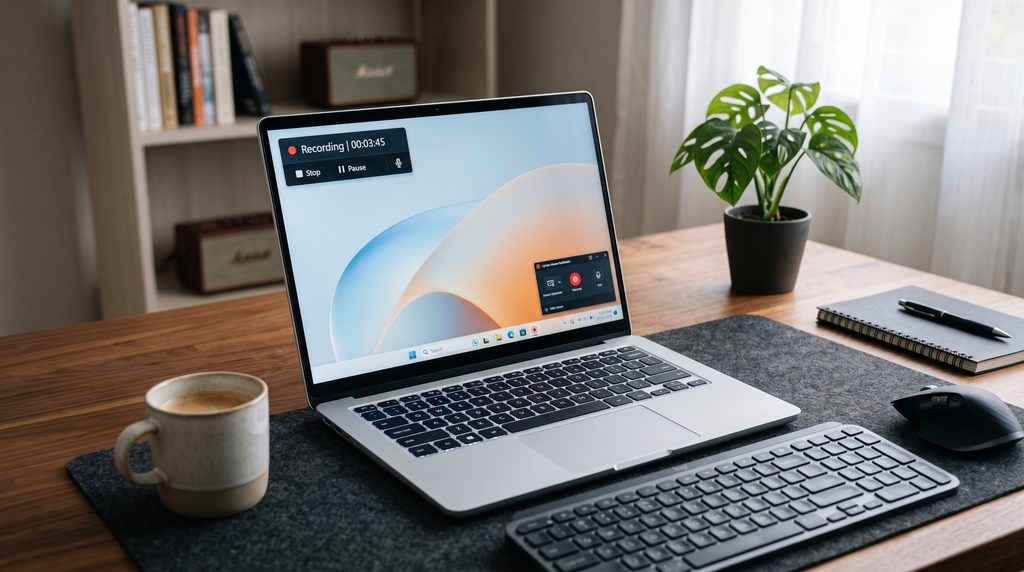
How to Screen Record on Windows 11 is something many PC users eventually need to know. You might want to demonstrate a software problem, create a tutorial, save part of a presentation, or show someone exactly what is happening on your screen. How to Screen Record on Windows 11 is easier than many users expect, especially because Windows 11 includes built-in tools for capturing your screen.
The good news is that you do not always need to install another screen recorder. Windows 11 includes built-in options that can handle common recording tasks. Microsoft currently documents video recording through Snipping Tool, while Xbox Game Bar can record clips from apps and games.
The best method depends on what you want to capture. For a selected area of the screen, Snipping Tool is convenient. For an application or game, Xbox Game Bar can be more suitable.
Why Record Your Windows 11 Screen?
Learning How to Screen Record on Windows 11 can help you create tutorials, record presentations, save demonstrations, and capture useful moments on your desktop. How to Screen Record on Windows 11 is useful when you need to create tutorials, record app demonstrations, or save a quick video of something happening on your PC. Screen recording can be useful for much more than gaming.
You can use it to:
- Create a short software tutorial
- Demonstrate a technical problem
- Record a presentation
- Explain a process to a colleague
- Capture a gameplay moment
- Save a demonstration for later
- Show someone how to use a Windows feature
A short recording can sometimes explain a problem more clearly than a long written message.
How to Screen Record on Windows 11 With the Snipping Tool
For many everyday tasks, the built-in Snipping Tool is the simplest place to start.
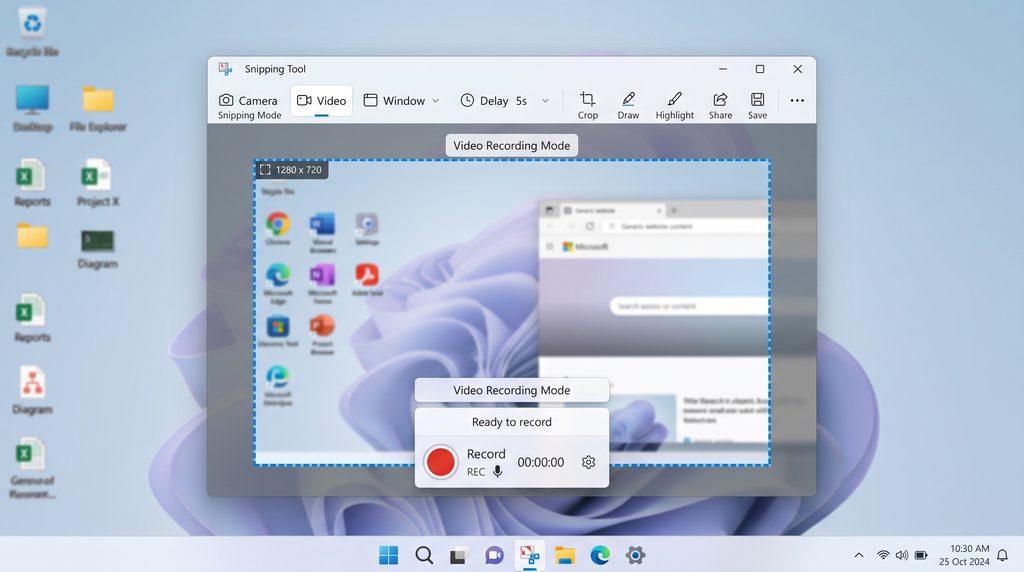
Microsoft’s current documentation says that Snipping Tool can record a selected rectangular portion of the screen. You can open the tool, choose Record, select New, mark the area you want to capture, and then start the recording. Windows 11 also provides the Windows + Shift + R shortcut for starting a video snip.
Step-by-step
- Open the Start menu.
- Search for Snipping Tool.
- Open the application.
- Select the Record option.
- Choose New.
- Drag around the part of the screen you want to capture.
- Select Start.
- Perform the actions you want to record.
- Select Stop when you are finished.
The recording can then be saved or opened for further editing. Microsoft also provides an option to edit a video snip in Clipchamp after recording.
Quick shortcut
If you prefer keyboard shortcuts, press:
Windows + Shift + R
This opens the video recording workflow in Snipping Tool on supported Windows 11 installations.
Record an App With Xbox Game Bar
Another built-in option is Xbox Game Bar.
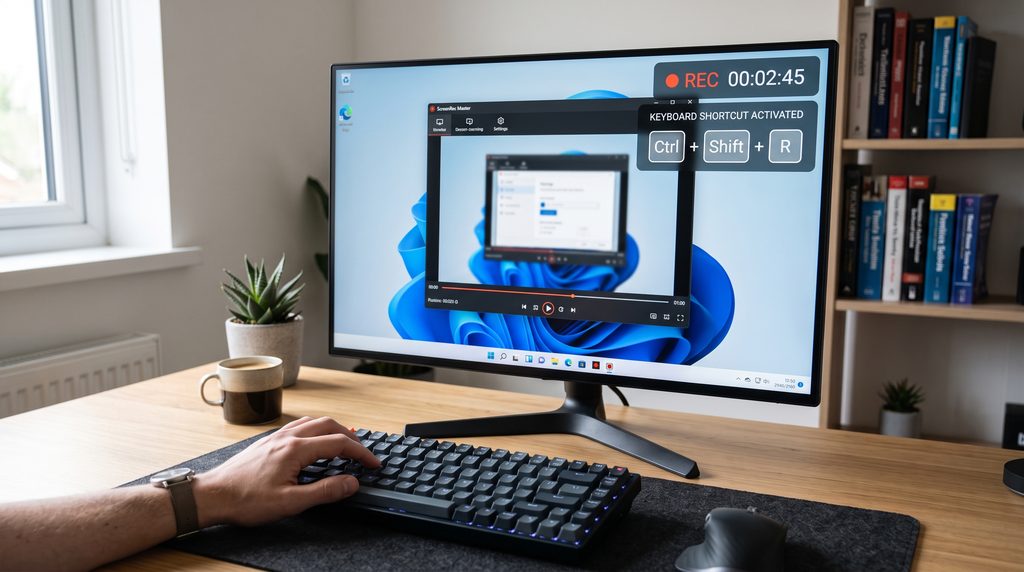
Although its name is associated with gaming, Game Bar can also record an active application. Microsoft documents Windows + Alt + R as the shortcut to start or stop a recording after Game Bar is enabled.
How to use Xbox Game Bar
- Open the application you want to record.
- Press Windows + G.
- Open the capture controls.
- Press Windows + Alt + R to begin recording.
- Use the application normally.
- Press Windows + Alt + R again to stop.
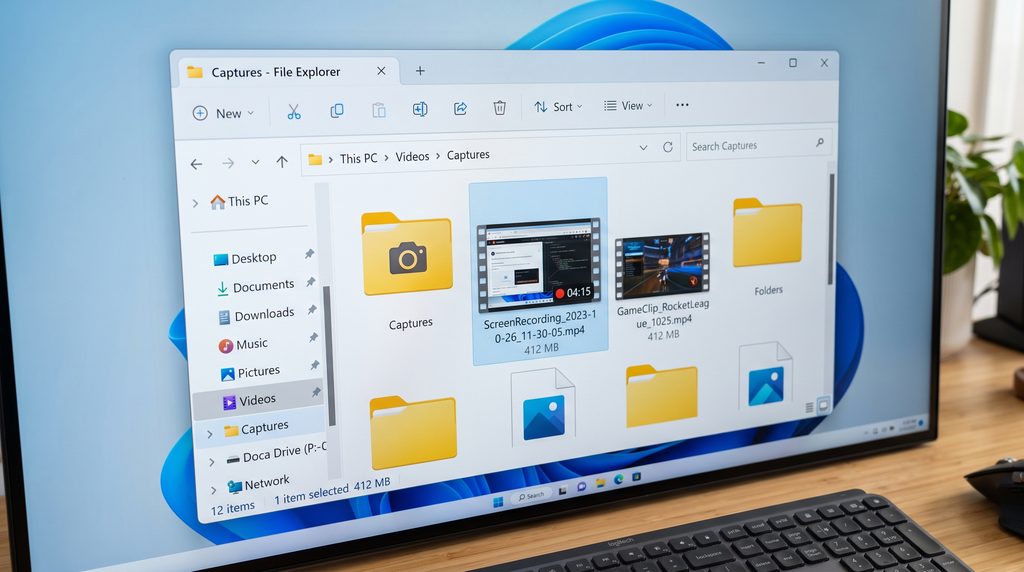
Microsoft says recordings made through Game Bar are saved as MP4 files inside the Videos > Captures folder.
This makes Game Bar useful when you want a quick recording without opening a separate recording application.
Which Windows 11 Recorder Should You Use?
The two built-in tools are useful for slightly different jobs.
| Tool | Useful for |
|---|---|
| Snipping Tool | Recording a selected area of the screen |
| Xbox Game Bar | Recording an active app or game |
| Clipchamp | Recording plus editing |
| Third-party recorder | More advanced recording controls |
If you only need a short tutorial or demonstration, starting with a built-in Windows tool can save you from installing additional software.
How to Record a Specific Part of the Screen
Sometimes recording the entire display is unnecessary.
For example, imagine you are demonstrating one website or showing how to use a particular application. Capturing the rest of your desktop can make the video harder to follow.
The Snipping Tool lets you select the rectangular portion you want to record before starting. This makes it particularly useful when you only need one section of the display.
A smaller recording area can also make the final video more focused.
How to Record an App or Game
If your goal is to capture an application or gameplay, Xbox Game Bar is another option.
Open the application first and then use:
Windows + Alt + R
to begin recording.
Press the same shortcut again when you are finished. Microsoft also documents Windows + Alt + M for turning the microphone on or off during a Game Bar recording.
This can be helpful when you want to explain what you are doing while recording.
How to Include Audio in a Recording
Audio requirements depend on the recording tool and what you are trying to capture.
With Xbox Game Bar, Microsoft provides capture settings for including system audio and microphone input. You can open Game Bar with Windows + G, enter its settings, and review the capture options before recording.
Before making an important recording, it is smart to create a short test clip.
Check:
- Is your microphone working?
- Can you hear the computer audio?
- Is the correct application being captured?
- Is the recording being saved?
A 10-second test can prevent you from discovering an audio problem after making a long tutorial.
Where Are Windows 11 Screen Recordings Saved?
The location depends on the method you use.
For Xbox Game Bar, Microsoft states that recorded clips are saved in:
Videos → Captures
The recordings are saved as MP4 files.
For Snipping Tool, the recording can be saved from the application after you stop capturing. Microsoft also allows a recorded video snip to be sent to Clipchamp for editing.
If you cannot immediately find a recording, check the recording application’s save or recent-files options before assuming that the video was lost.
What If Screen Recording Does Not Work?
If the recorder refuses to start, try these basic checks.
Update Windows
An outdated Windows installation can sometimes cause feature-related problems. Check Settings → Windows Update and install available updates if appropriate. These troubleshooting steps can help when How to Screen Record on Windows 11 does not work as expected.
Update Snipping Tool
If Snipping Tool does not show the recording feature, make sure the application is updated through the Microsoft Store.
Microsoft notes that the video recording capability is part of the Snipping Tool experience on supported Windows 11 devices. If you are looking for a simple built-in option, How to Screen Record on Windows 11 with Snipping Tool is a convenient choice. For many users, How to Screen Record on Windows 11 starts with the built-in Snipping Tool because it does not require additional recording software.
Check Xbox Game Bar.
If Game Bar does not open, go to Windows Settings and search for Xbox Game Bar. Make sure the feature is enabled. Another way to learn how to screen record on Windows 11 is to use Xbox Game Bar, especially when you want to record an application or game.
Try a Short Test
Do not immediately attempt a 30-minute recording. Make a short clip first and confirm that both the picture and sound are working.
Should You Install a Third-Party Screen Recorder?
Not necessarily.
For basic screen recording, Windows 11 already provides built-in options. If you only need to record a selected area, demonstrate an application, or capture gameplay, you may not need additional software at all.
Third-party applications become more useful when you need advanced features such as extensive editing, multiple recording sources, detailed overlays, or specialized streaming controls.
For simple tasks, however, keeping the setup minimal can make the process easier.
Tips for Better Screen Recordings
A few small changes can make a recording easier to watch.
Close Unnecessary Windows
Remove unrelated tabs and applications from the screen before recording.
Prepare Your Desktop
If you are demonstrating something for another person, clean up unnecessary notifications and windows.
Test Your Audio
A recording with excellent video but unusable audio is frustrating to redo.
Keep Tutorials Focused
Instead of recording every click, plan the main steps first and keep the explanation concise.
Check the Finished File
Watch a few seconds of the recording before sharing it. Confirm that the important part of the screen is visible and the sound works as expected.
Frequently Asked Questions
Can I record my screen on Windows 11 without downloading software?
Yes. Windows 11 includes built-in recording capabilities through tools such as Snipping Tool and Xbox Game Bar.
What is the shortcut for Snipping Tool screen recording?
On supported Windows 11 versions, Windows + Shift + R opens the video snipping workflow.
What is the Xbox Game Bar recording shortcut?
Press Windows + Alt + R to start or stop a recording after Xbox Game Bar is enabled.
Where does Xbox Game Bar save recordings?
Game Bar recordings are saved in Videos → Captures as MP4 files.
Final Thoughts
Once you know how to screen record on Windows 11, you can choose the built-in recording method that best fits your task. If you also want to improve your PC and mobile workflow, check out our guide on How to Clear Cache on Android.
Learning how to screen record on Windows 11 does not have to involve complicated software.
For a selected part of your display, Snipping Tool provides a straightforward built-in solution. For an application or game, Xbox Game Bar offers another quick option with keyboard shortcuts and audio controls.
Start with the tool that matches what you want to capture, make a short test recording, and check the final file before sharing it. For most everyday screen-recording tasks, the tools already included with Windows 11 can be enough.